1. Download all parts
A manual download is split into multiple parts. Using your browser, download all the links provided to you by our team. These parts should now all be contained within one folder, like the example below.

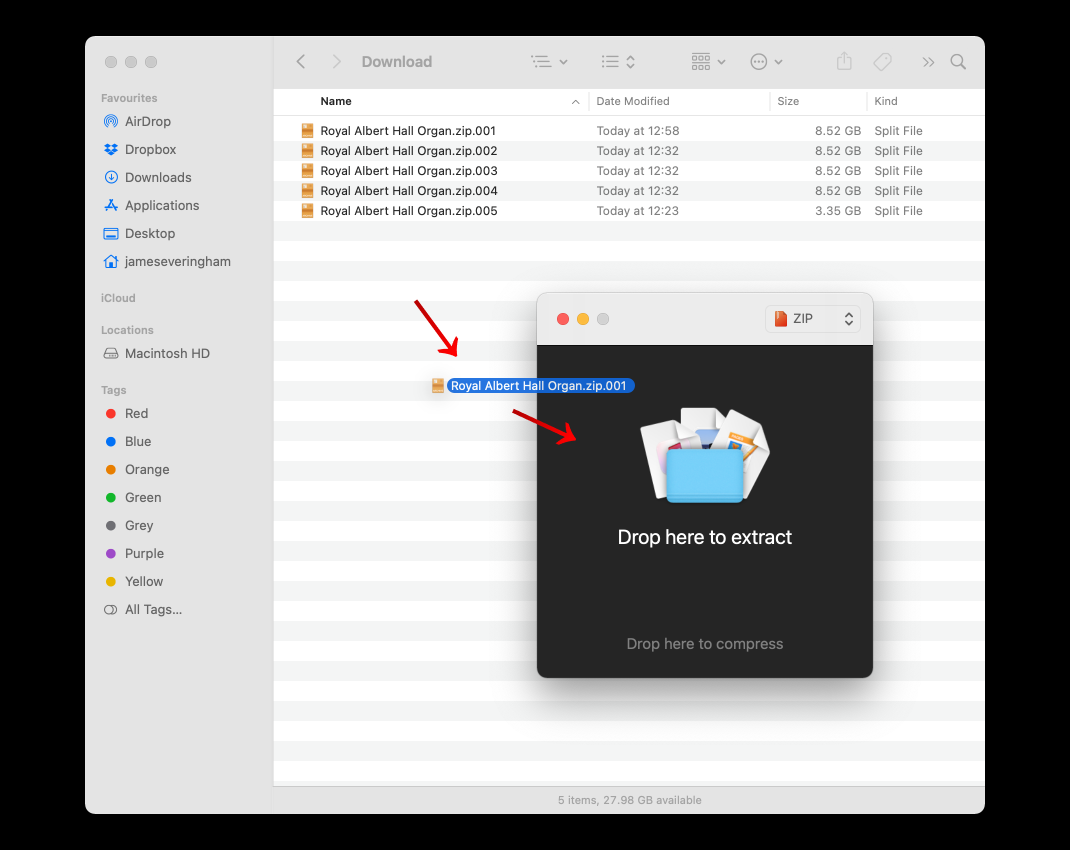
2. Extract the first part only
Extract the first archive (001 file) – this will ensure the extraction of subsequent parts automatically. We recommend using Keka. You can drag the first part over a window of Keka to begin the extraction.
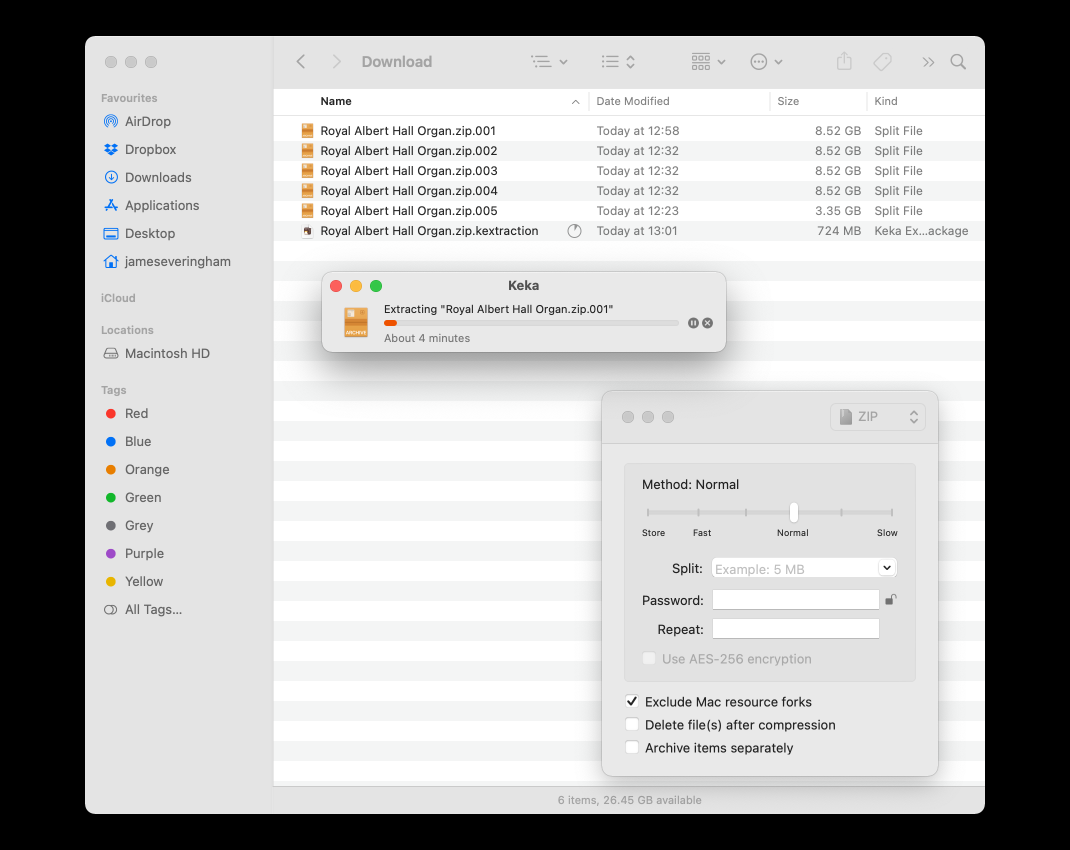
3. Choose the parent folder and begin the extraction
The directory containing the rest of the downloaded parts should be selected by default - if not, navigate here now and begin the extraction.

4. Register Royal Albert Hall Organ to your Native ID
Open Native Access and ensure you are signed in to your Native ID. Find Kontakt Player, and click ‘Install’. Once installed, check your email for the unique 25-digit serial number you received upon purchase of Royal Albert Hall Organ. Click ‘Add Serial’ on the left of Native Access, and enter your serial number. Your unique serial number will now be registered to your Native ID. If you encounter any issues, ensure your serial number was entered correctly.
5. Locate your Royal Albert Hall Organ folder
Once the product registration has been completed, Royal Albert Hall Organ will appear in your library. Click the three dots next to the ‘Install’ button, and select ‘Locate’. Navigate to the folder to which you extracted Royal Albert Hall Organ.
Royal Albert Hall Organ is now installed!
Once the download and installation is complete, open Kontakt Player as either a standalone application, or as a plugin in your DAW of choice. Royal Albert Hall Organ will be displayed in the Library panel. Click to expand the list of available instruments and registrations. For more help, visit contact support where you can read frequently asked questions and contact us directly.